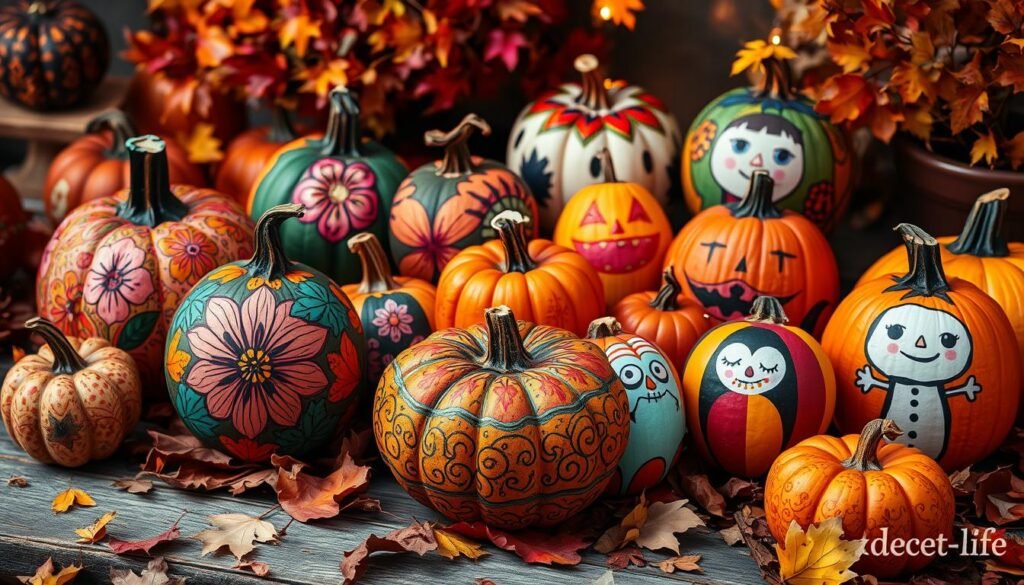
This Thanksgiving, why not make your decor stand out with painted pumpkins? Find simple pumpkin painting ideas and key tips to make your autumn celebrations special. Learn how to make beautiful centerpieces and decorations without spending a lot, great for both adults and kids. This article is perfect for anyone, with easy steps and just a few supplies needed.
Introduction to Pumpkin Painting for Thanksgiving
As autumn comes, many look forward to carving pumpkins for Thanksgiving. But have you thought about painting them instead? Painting adds a unique twist to your seasonal decor. It lets you try out different DIY projects and autumn crafts.
Benefits of Painting vs. Carving Pumpkins
Painted pumpkins last longer than carved ones. They don’t dry out or rot because their surface stays intact. Plus, painting lets you get creative with many seasonal decor designs.
Essential Materials and Supplies for Pumpkin Arts
To start painting pumpkins, you’ll need acrylic craft paints and brushes in various sizes. You might also want stencils or paint pens. Clean your pumpkins well and apply a base coat for the best look.
Pumpkin Preparation Tips for Success
Before you paint, test your colors on a small pumpkin area. This helps you see how they’ll look and make changes if needed. Also, sketch your design first. It makes painting easier and faster.
Elegant Botanical Pumpkin Design
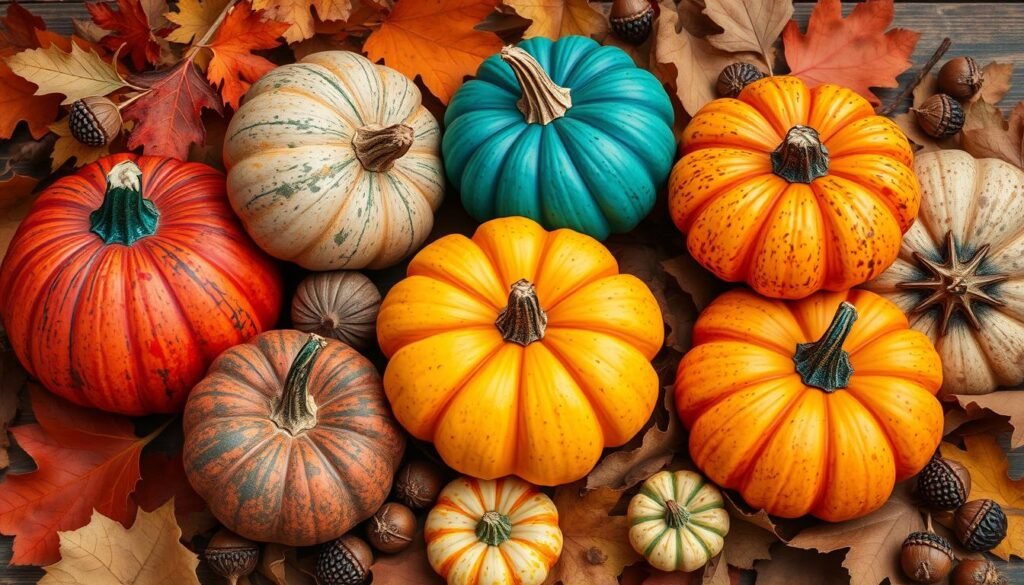
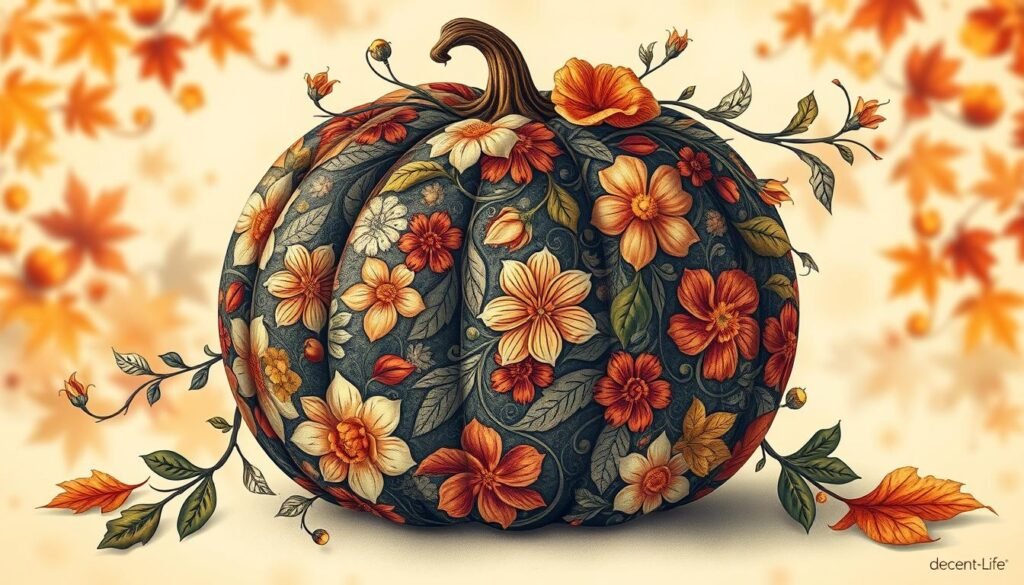
Turn your pumpkins into beautiful botanical art with craft paint and stencils. This method is perfect for white pumpkins, making the designs pop. Use painter’s tape for stripes or patterns, then place your stencils for detailed designs.
Try adding monograms or colorful vines for a personal touch. Choose soft pastels or bright colors for a stunning floral pumpkin. This will add a unique, nature-inspired decor element to your space.
Use Real Milk Paint for a sustainable pumpkin painting option. It’s natural, non-toxic, and sticks well to pumpkins. The paint’s finish is smooth, and it’s easy to clean up with soap and water.
5 Easy Pumpkin Painting Ideas and Tips for Thanksgiving
Pumpkin painting is a fun and affordable activity for families. It’s great for decorating your home or for kids to enjoy. Here are five easy ideas and tips to make your Thanksgiving more festive.
Traditional Fall Color Schemes for Pumpkin Painting
Use classic fall colors like orange, brown, and gold to capture autumn’s spirit. Paint your pumpkins in these warm colors. Try different techniques, like solid colors, ombre, or layered patterns.
Simple Pattern Techniques for Pumpkin Painting
Make your pumpkins stand out with simple patterns. Paint polka dots, stripes, or chevrons for a striking look. These crafts are perfect for quick fall decorations or kids’ activities.
Time-Saving Decorating Methods for Pumpkin Painting
For fast pumpkin decorating, try dip-dyeing or splattering paint. These methods create unique designs quickly. They’re great for busy times or when you’re short on time.
Marbleized Paint Technique for Stunning Effects
Take your marbled pumpkins to the next level with nail polish art. This method makes them look swirly and psychedelic, great for Halloween decor. You can use real or faux pumpkins and try out many nail polish designs.
First, gather what you need: small pumpkins, nail polish in different colors, a plastic container, and toothpicks. Fill the container with warm water. Then, drop nail polish dollops onto the water’s surface. Use toothpicks to mix the polish, making cool patterns.
Dip your pumpkins into the marbled water, covering them well. Let them dry on wax paper. You might want to add more layers for a deeper look. Keep the water warm but not too hot, so the polish swirls right.
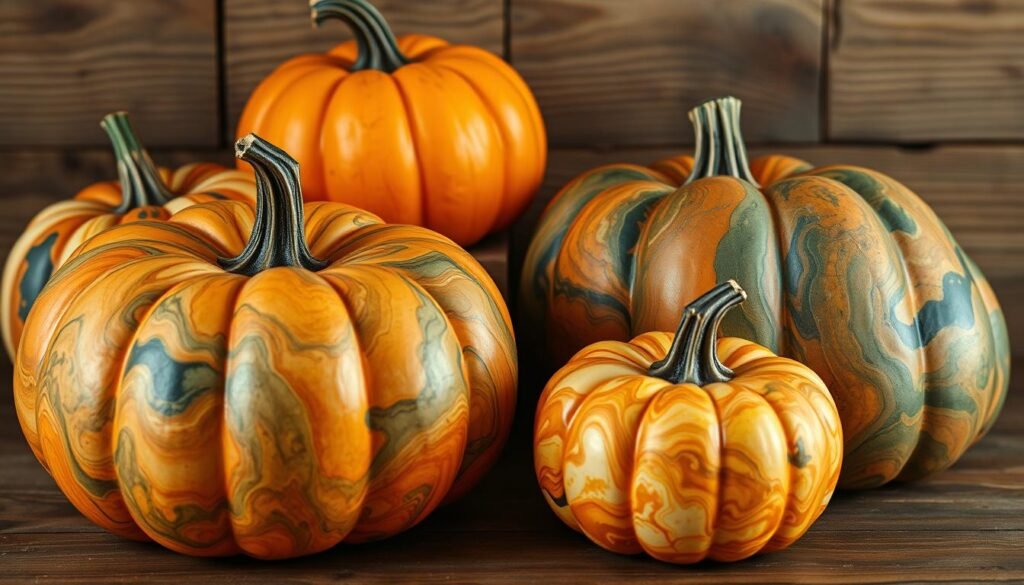
Try glow-in-the-dark or metallic nail polish for a spooky look. This makes your Unique Halloween decor stand out. With some creativity and basic supplies, you can make ordinary pumpkins into amazing pieces.
Creating Metallic and Glitter Finishes
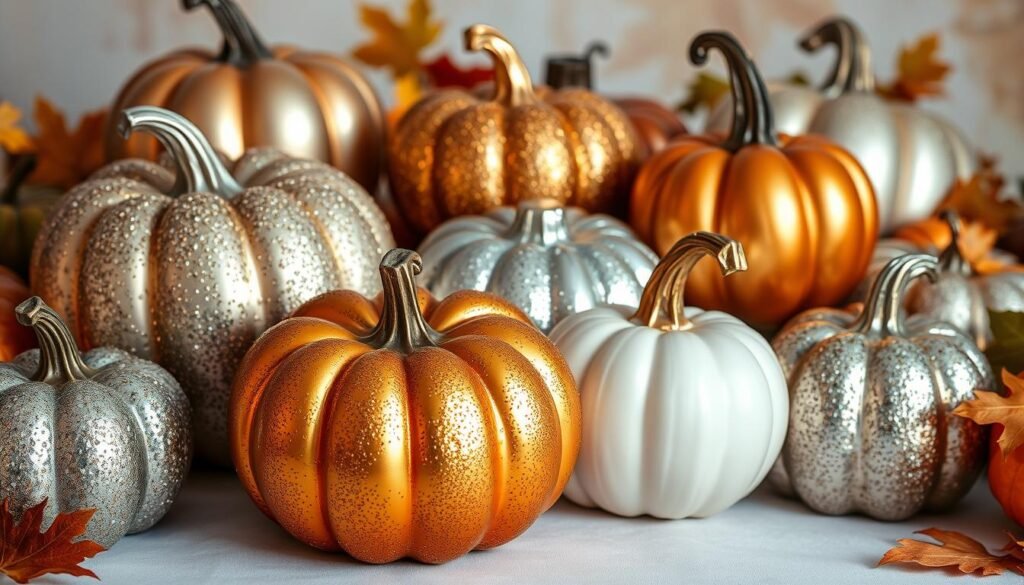
Elevate your pumpkin decor this season with shimmering metallic and glitter finishes. These sparkling fall decorations will turn your ordinary pumpkins into eye-catching glitter pumpkins and metallic decor pieces. They will surely impress your guests.
Working with Metallic Paints
Metallic paints give your pumpkins a luxurious, high-end look. You can get a stunning metallic finish by spray painting or using brush-on metallic acrylic paint. Try different metallic shades like gleaming gold or shimmering silver to match your autumn displays.
Adding Sparkle and Shine
Make your glitter pumpkins even more dazzling by adding craft glitter or sequins. Coat the pumpkin with a thin layer of mod podge or decoupage medium. Then, sprinkle the glitter or stick the sequins for a dazzling effect. The sparkling fall decorations will shine brightly, adding glamour to your metallic decor.
Sealing Your Design
To keep your metallic and glitter pumpkins looking great, seal the design with a clear acrylic sealant. This will protect the finish all season long. Your glitter pumpkins and metallic decor will stay vibrant and stunning.
Bubble Paint and Textured Designs
Get creative this Thanksgiving with the bubble paint technique. It lets you make amazing marbled effects on pumpkins. Mix acrylic paint, water, and a bit of dish soap. Then, blow bubbles into it with a straw.
Transfer these whimsical designs right onto your pumpkin. You’ll get a unique texture that stands out.
But there’s more to explore. Try other textured pumpkin painting ideas for more depth and interest. Wrap rope, fabric, or tissue paper around your pumpkin and paint over it.
When you peel away the materials, you’ll see a beautiful, dimensional design. It brings the bubble paint technique and other creative painting methods to life.
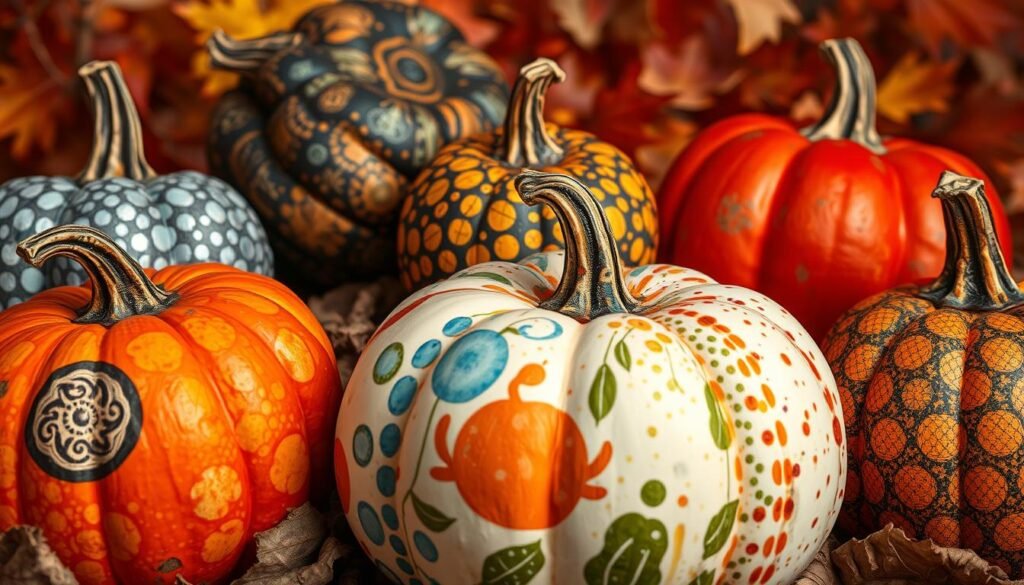
These textured pumpkin techniques are perfect for anyone, whether you’re an experienced artist or new to painting. Play with colors, patterns, and layers to turn simple pumpkins into stunning autumn decorations. Impress your guests with your DIY pumpkin creations this Thanksgiving!
Color Dipping and Ombre Effects
Take your pumpkin painting to the next level with ombre and color-dipped designs. Try gradient effects to make simple gourds stand out. The trick is to pick the right colors and learn how to apply them.
Choosing Color Combinations
For ombre pumpkins, think of the color palette as your canvas. Choose colors that go well together, like orange, yellow, and pink, or blue, purple, and green. You can also mix and match for a bold look, like teal and coral or metallic gold and silver.
Application Techniques
To get a great ombre or color-dipped look, use a few simple methods. For spray painting, hold the can at an angle and spray from top to bottom. This lets the colors blend smoothly. For dipping, start with one color at the bottom and then add another as you lift and dip.
Try fluid acrylic paints for a smooth transition between colors. This will help you achieve a beautiful gradient.
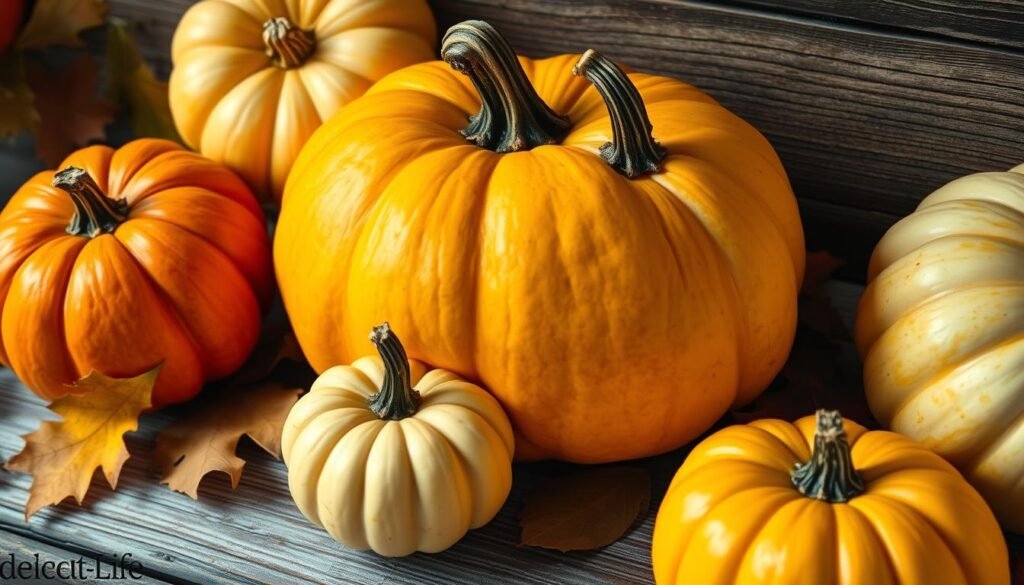
With a bit of creativity and practice, you can turn regular pumpkins into stunning ombre and color-dipped works of art. Embrace gradient designs and make your Thanksgiving decor truly special.
Preserving Your Painted Pumpkins
Keep your hand-painted pumpkins looking great with these easy tips. First, clean and prepare your pumpkins to stop rot. Use a warm water bath with bleach and dish soap to disinfect.
After painting, seal your designs with clear satin finish spray polycrylic. Use two coats to protect against critters and weather. This method keeps your long-lasting decorations looking good for weeks.
Try ombre painting for a modern look. Use foam brushes to blend colors. This creates stunning, durable pumpkins.
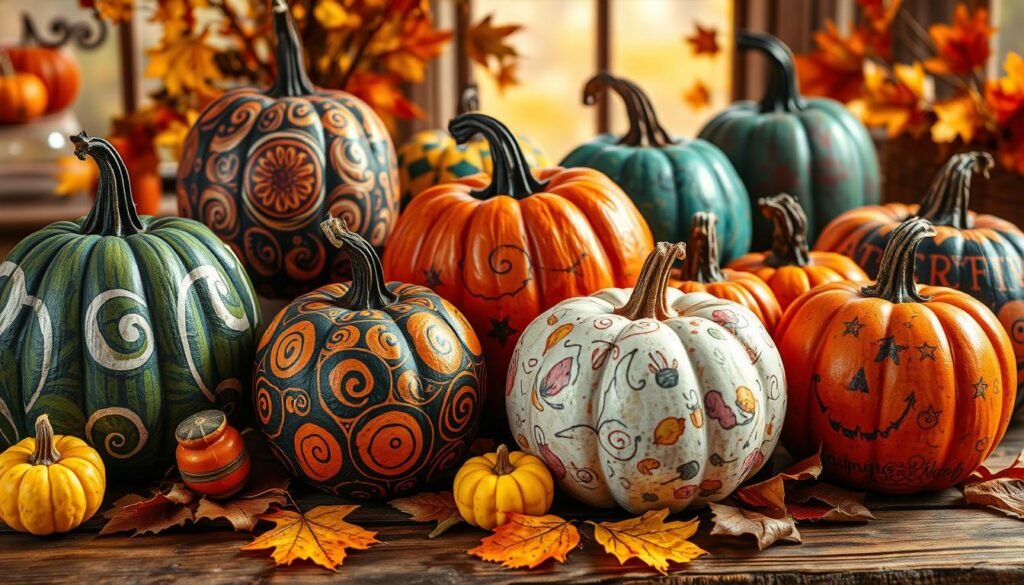
Get creative with painting styles, from copper tones to shabby chic. You can even use chalk paint or add glow-in-the-dark details. With the right care, your pumpkins will last through the holidays.
Creative Display Ideas and Arrangements
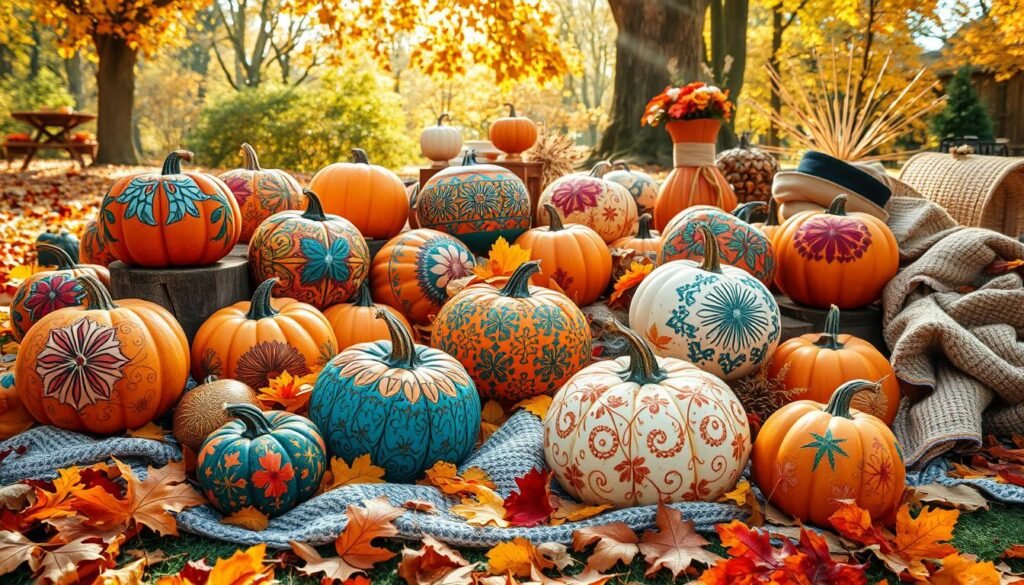
Show off your painted pumpkins with creative displays that will impress your guests at Thanksgiving. Pumpkin centerpieces are a must-have for fall decor. You can arrange them in different sizes and designs for a stunning table display. Or, add them to your fall table settings for a festive vibe.
Outdoor decoration is also a great way to display your pumpkins. Place them on your porch or patio for a warm autumn welcome. Hang smaller pumpkins from shepherd’s hooks or string them up for a playful look. The most important thing is to have fun and show off your creativity.
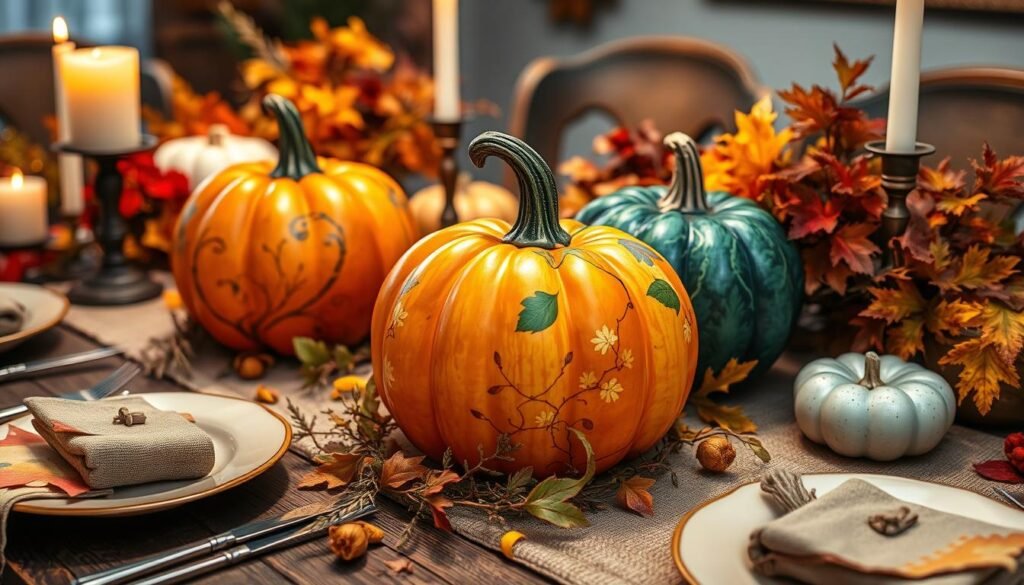
For pumpkin centerpieces, mix different sizes and painting styles for a cool effect. Add dried leaves or seasonal flowers for a complete look. For fall table settings, place smaller pumpkins among your dishes or use them as name tags. Use bigger pumpkins as a centerpiece for a bold outdoor decoration.
There are countless ways to show off your painted pumpkins. Let your imagination run wild and make displays that show off your style and the Thanksgiving spirit.
Conclusion
Painting pumpkins is a fun way to celebrate Thanksgiving traditions. It adds a personal touch to your home decor. You can choose from elegant designs to playful patterns that show off fall’s beauty.
Whether you want a uniform look or unique pieces, this article has you covered. You can impress your guests and make your Thanksgiving gatherings special. It’s a budget-friendly and creative way to decorate your home.
Painting pumpkins lets you show off your style and make your home seasonally special. You can go for bold designs or something more subtle. It’s a DIY project that can change your home decor in exciting ways.
Let your creativity flow and try out different painting techniques. Your painted pumpkins will be the highlight of your Thanksgiving. They can turn your home into a cozy and festive space.
Painted pumpkins can match any Thanksgiving theme, from classic to modern. They let you express your creativity and make your home welcoming. Your pumpkins can become a beautiful part of your home’s decor.
